


.png)
Inverter
Setting up off-peak charging on SunGrow SH series inverters
Setting Up Off-Peak Charging on SunGrow SH Series Inverters: A Guide for Solar Energy Users
In the realm of solar energy, optimizing the performance of your energy system is crucial for maximizing efficiency and cost-effectiveness. One such optimization involves understanding and utilizing non-peak (off-peak) charging, which allows you to defer the use of your solar system’s energy to periods of lower electricity demand or higher tariffs. This article will guide you through the process of setting up non-peak charging on your SunGrow SH series inverter.
Understanding Non-Peak Charging
Non-peak charging refers to the practice of charging your energy storage (such as a battery) during periods of lower electricity prices or when the grid demand is low. This is a common strategy in regions with time-of-use (TOU) pricing or during off-peak hours. By shifting energy usage to these periods, you can reduce the overall cost of electricity for your system.
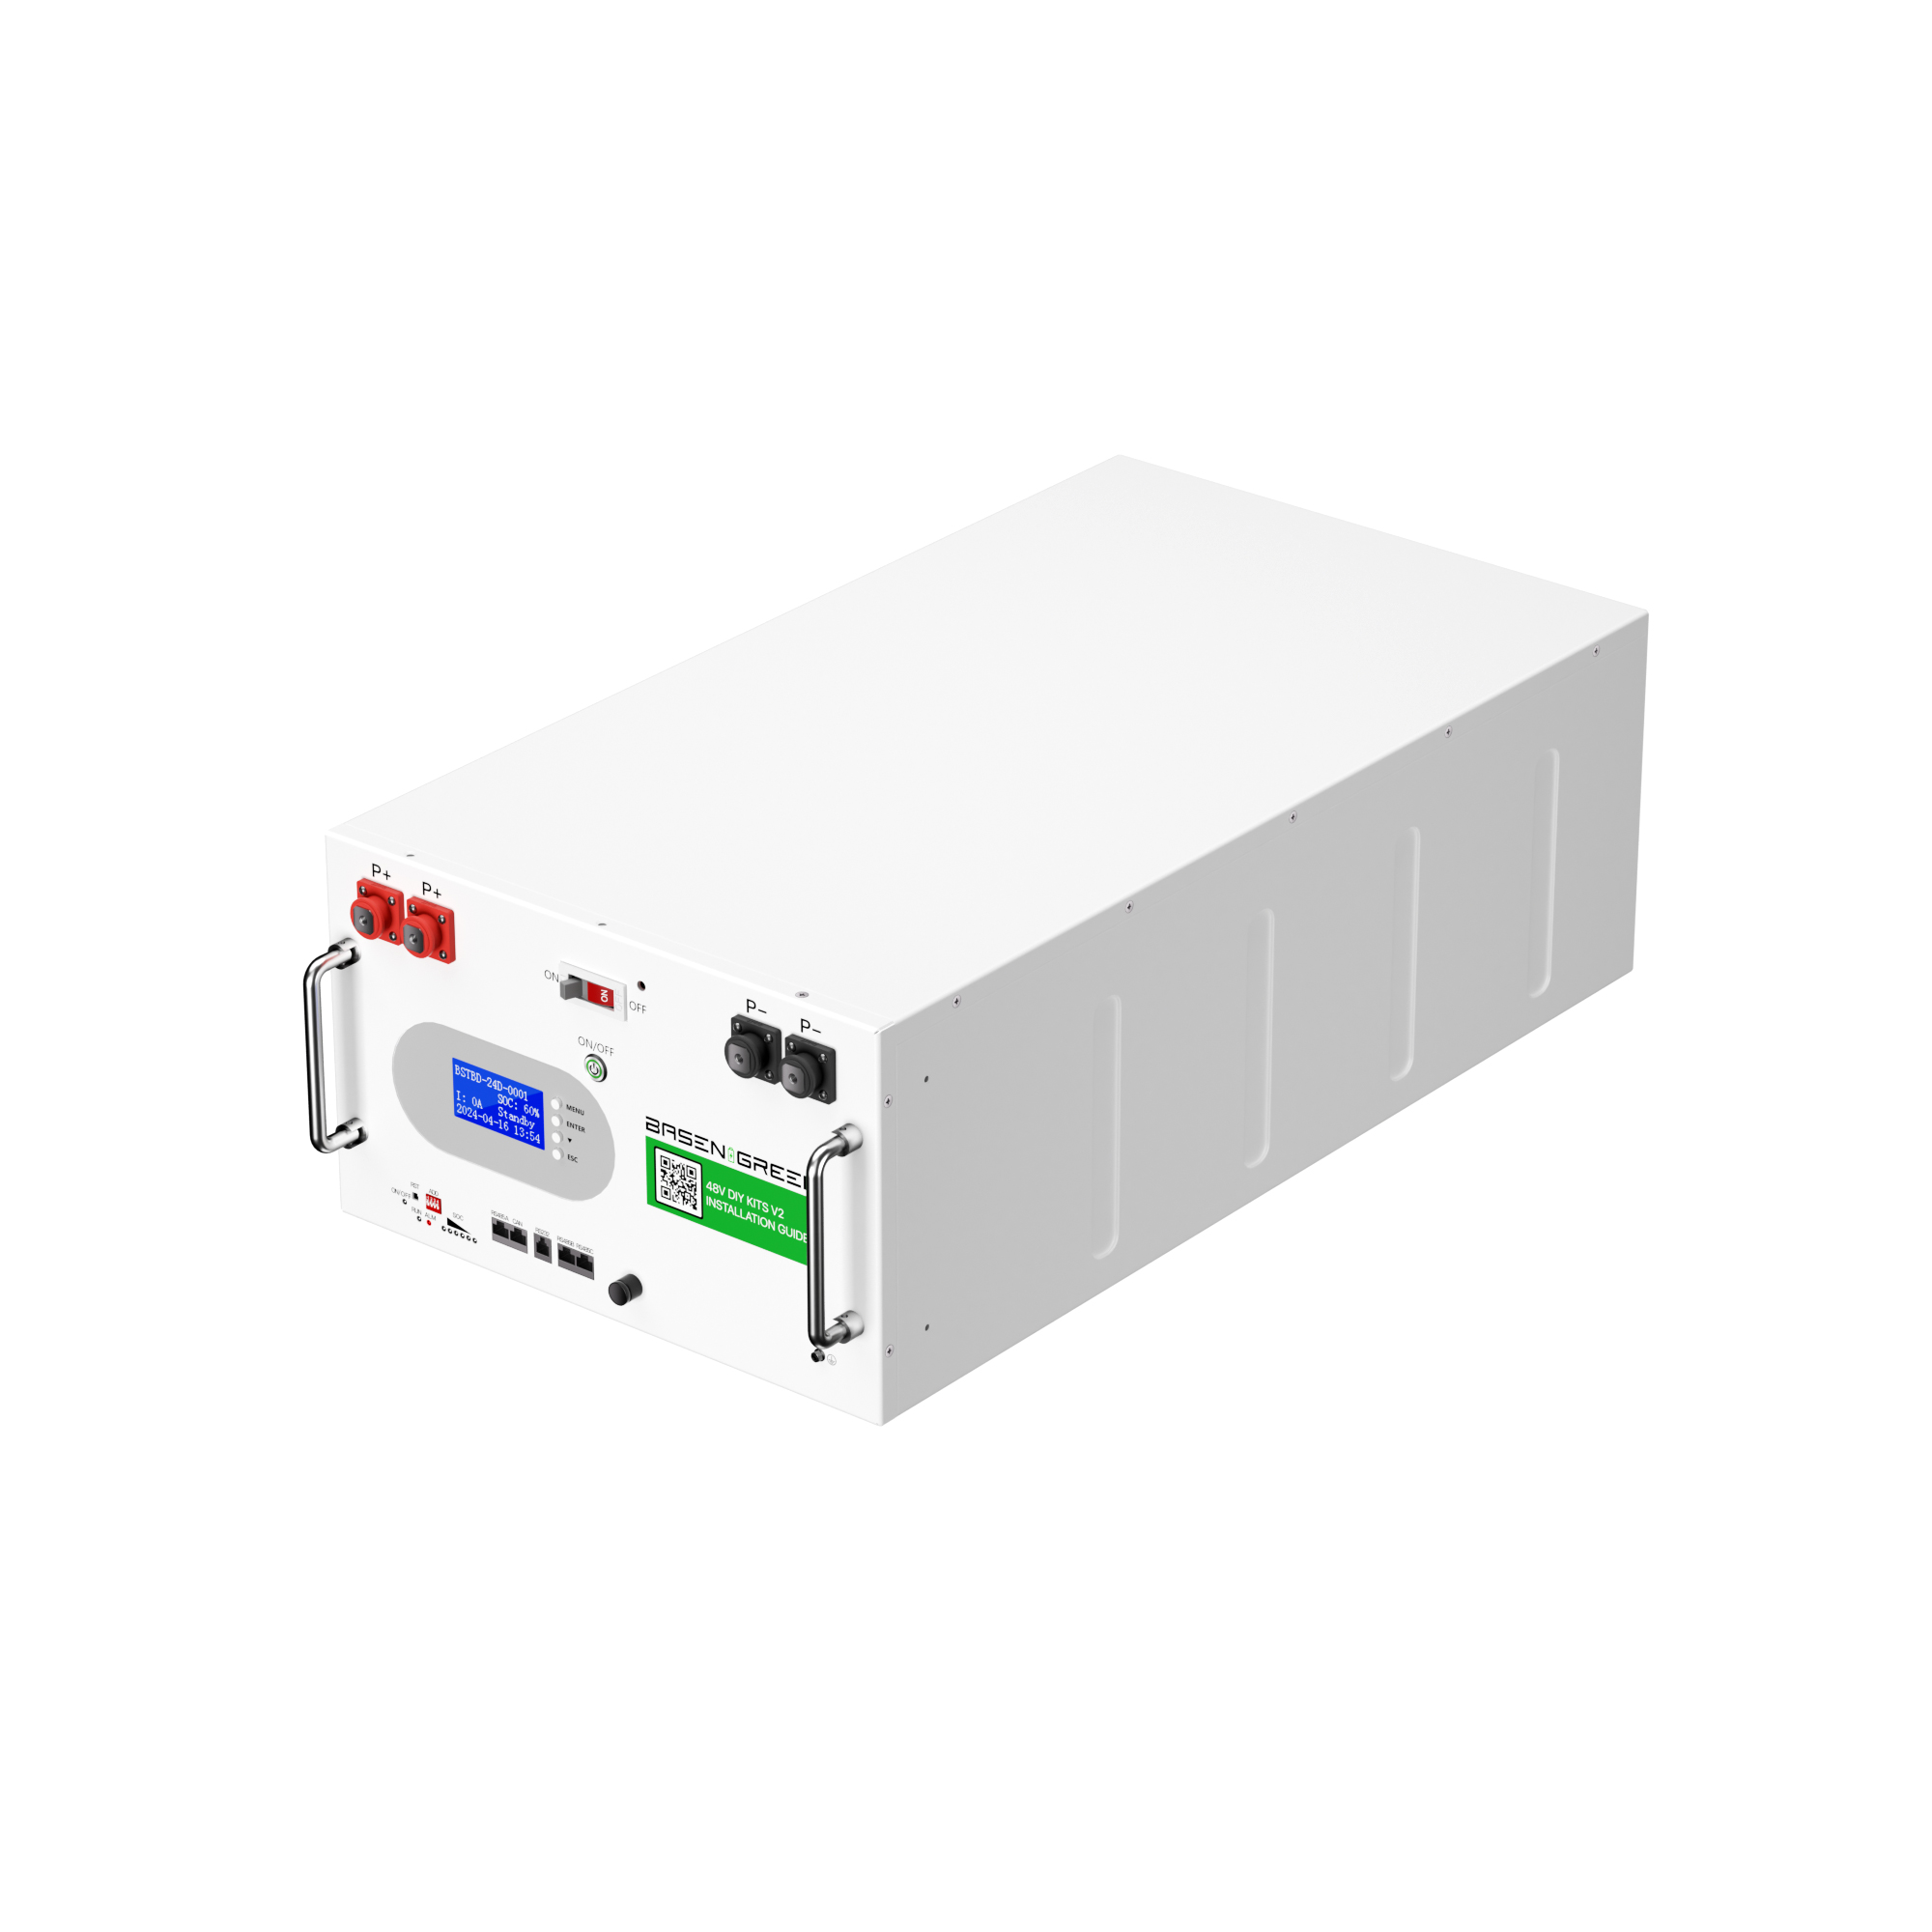
The SunGrow SH series inverters are designed to support non-peak charging, making them a popular choice for solar energy systems. These inverters are equipped with advanced features that allow for efficient energy management, including the ability to store excess energy and release it during off-peak hours.
Setting Up Non-P, Peak Charging on Your SunGrow SH Series Inverter
Step 1: Configuring the Power Management Software
The first step in setting up non-peak charging is to ensure your inverter has the necessary software configuration to support this feature. Most modern inverters come pre-loaded with the required software, but it’s always a good idea to verify this with the manufacturer’s specifications.
Step 2: Identifying Off-Peak Periods
The next step is to identify the periods during the day when electricity is priced lower or when you want to avoid using your grid connection. This could be in the early morning, late evening, or during certain weekdays. Some utility companies also offer non-peak rates at specific times of the day, which you can check on their website or through their customer portal.
Step 3: Configuring the Inverter’s Power Management Settings
Once you’ve identified the off-peak periods, you need to configure your inverter to charge your battery during these times. This typically involves setting the inverter to a low output setting during peak hours and a higher output setting during off-peak hours.
Step 4: Testing the Configuration
After configuring the in, your inverter, it’s a good idea to test the configuration to ensure that it’s working as intended. You can do this by monitoring the inverter’s output and the battery level. If everything is working correctly, you should see increased charging during the off-peak periods and reduced charging during peak times.
Step 5: Monitoring and Adjusting
Once the configuration is set, it’s important to monitor the system’s performance and make any necessary adjustments. This could involve tweaking the inverter’s settings or adjusting the amount of energy that is being charged during off-peak hours.
Benefits of Non-Peak Charging
Non-peak charging offers several benefits, including cost savings, improved grid reliability, and reduced strain on the grid during peak times. By deferring energy use to off-peak periods, you can also reduce your carbon footprint and support the grid during periods of high demand.
Setting up non-peak charging on your SunGrow SH series inverter is a simple process that can provide significant benefits for your solar energy system. By understanding how to configure your inverter to charge during off-peak periods, you can optimize your energy usage, reduce costs, and support the grid during peak times. With a few steps and some configuration, you can start reaping the benefits of non-peak charging today.