How to Replace Cooling Fans in Deye/SunGrow Inverters
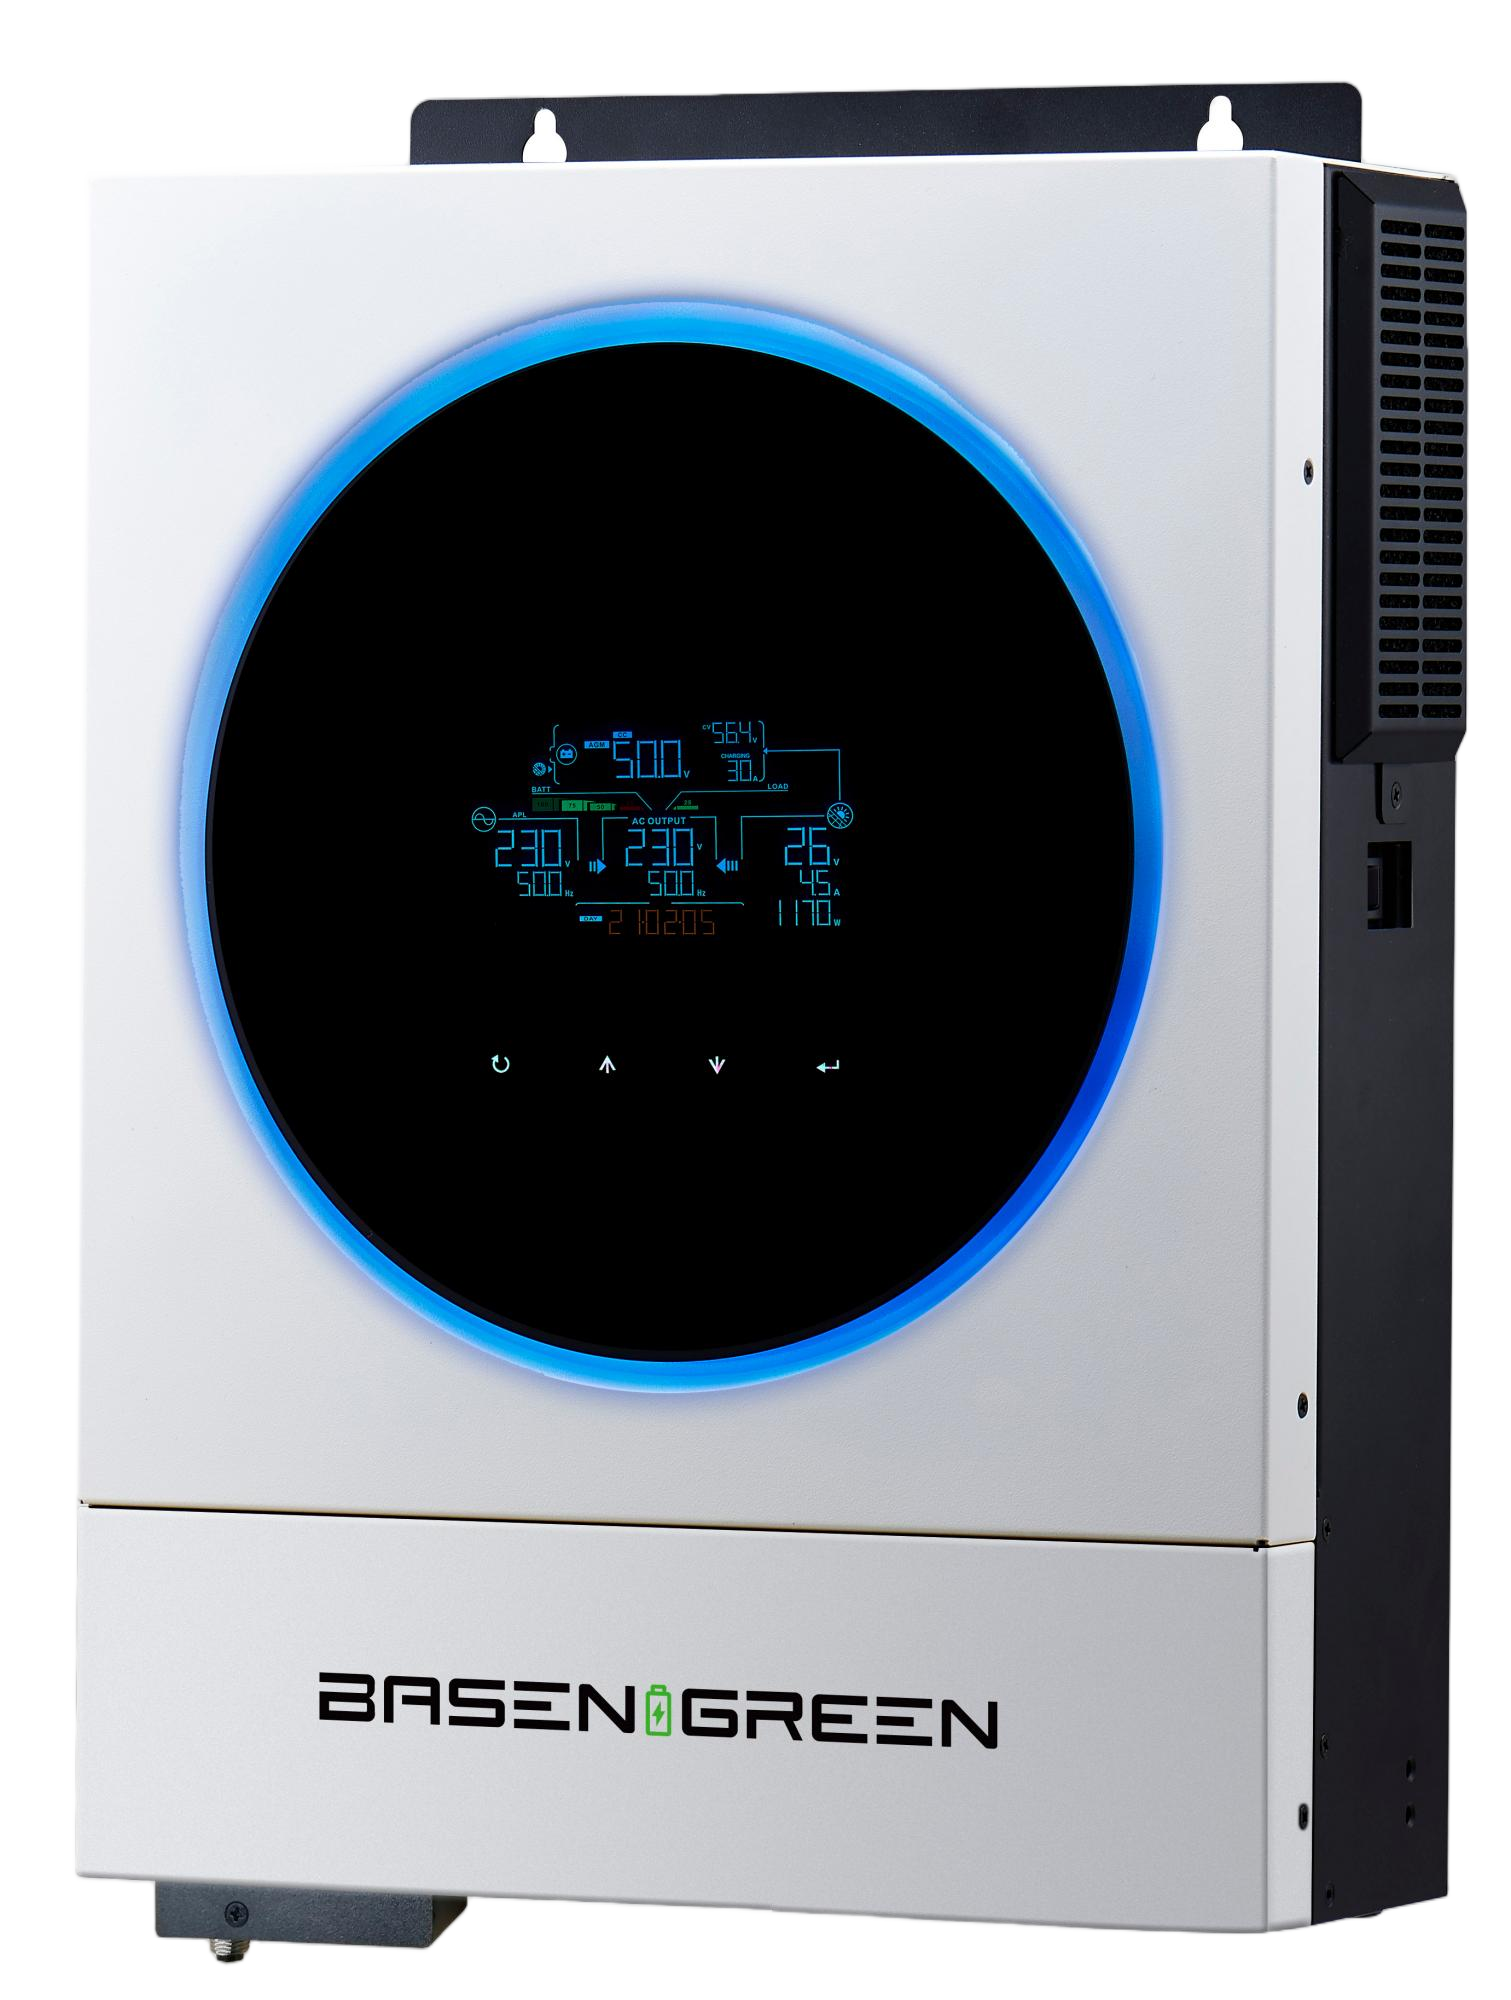
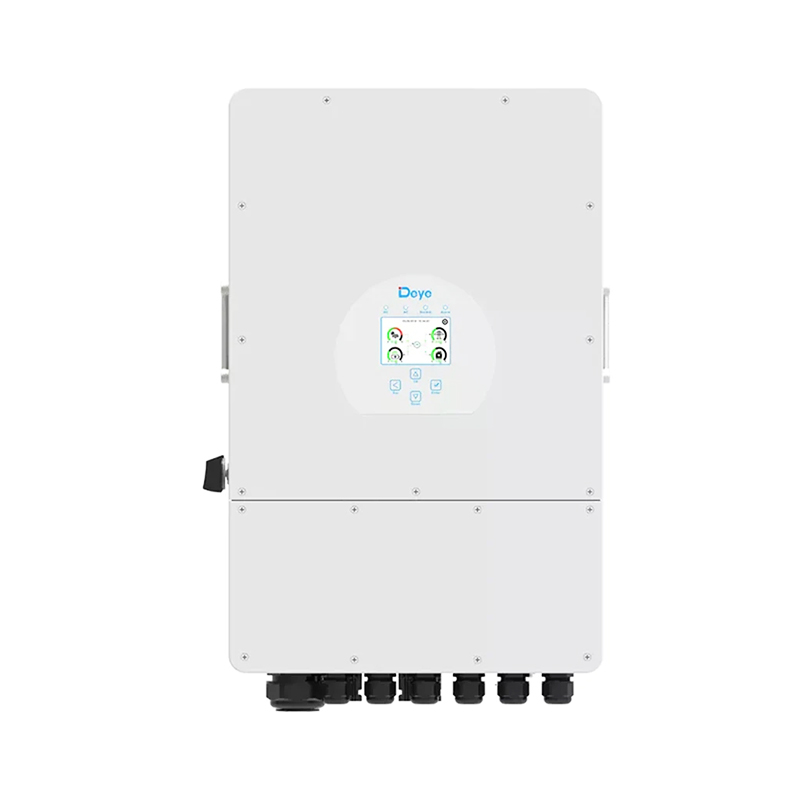
Inverter cooling fans are critical components that ensure the proper functioning and longevity of your Deye or SunGrow inverter. Over time, these fans can wear out, leading to decreased efficiency or even failure. Replacing a faulty cooling fan is a relatively straightforward process, but it requires careful attention to detail to ensure safety and optimal performance. In this guide, we’ll walk you through the steps to replace the cooling fans in your Deye or SunGrow inverter.
Why Replace Cooling Fans?
Cooling fans in inverters are responsible for maintaining the internal temperature of the device, ensuring that it operates within safe limits. If the cooling fan fails, the inverter may overheat, leading to potential damage to other components or even complete failure. Replacing a faulty cooling fan can prevent such issues and extend the lifespan of your inverter.
Tools and Materials Needed
Before you begin the replacement process, make sure you have the following tools and materials on hand:
Screwdrivers (Phillips and flathead) Pliers Multimeter (optional) Replacement cooling fan (compatible with your inverter model) Insulating tape or thermal paste (optional) Safety gloves and eyewearSafety Precautions
Working with electrical components can be hazardous, so it’s essential to follow these safety precautions:
Power Down the Inverter: Ensure the inverter is completely powered down before starting the replacement process. Disconnect it from the power source and wait for it to cool down.
Discharge Capacitors: Inverters often have capacitors that store electrical energy even when disconnected. Use a multimeter to discharge these capacitors safely before handling any components.
Ground Yourself: Static electricity can damage electronic components. Ground yourself by touching a grounded metal object before handling the inverter.
Work in a Well-Lit Area: Ensure you’re working in a well-lit area to avoid mistakes.
Use Proper Tools: Only use the tools recommended for the job. Avoid using tools that could damage the inverter or its components.
Step-by-Step Guide to Replace Cooling Fans
Step 1: Access the Cooling Fan
Remove the Inverter Cover: Most inverters have a cover that can be removed using screwdrivers. Locate the screws on the cover and remove them carefully.
Locate the Cooling Fan: Once the cover is removed, you should be able to see the cooling fan. It is usually located near the power transistors or other heat-generating components.
Unscrew the Fan Housing: The cooling fan is typically housed in a small compartment. Use a screwdriver to unscrew the housing and gain access to the fan.
Step 2: Remove the Old Cooling Fan
Disconnect the Fan Wiring: Before removing the fan, disconnect the electrical wiring connected to it. This can usually be done by gently pulling the wires apart or using a pair of pliers to remove any clips.
Remove the Fan: Once the wiring is disconnected, carefully remove the fan from its housing. Be cautious not to drop it or damage any surrounding components.
Step 3: Prepare the New Cooling Fan
Check the New Fan: Ensure the replacement fan is compatible with your inverter model. Check the specifications, such as voltage, RPM, and dimensions.
Apply Thermal Paste (Optional): If the new fan will be in direct contact with the inverter’s heat sink, you may want to apply a thin layer of thermal paste to improve heat conductivity.
Step 4: Install the New Cooling Fan
Position the New Fan: Carefully position the new fan in the housing, ensuring it aligns properly with the mounting screws.
Secure the Fan: Use the provided screws or bolts to secure the new fan in place. Tighten them gently to avoid overtightening.
Reconnect the Wiring: Reconnect the electrical wiring to the new fan. Ensure the connections are secure to prevent any loose wires from causing issues.
Step 5: Reassemble the Inverter
Replace the Fan Housing: Once the new fan is installed, replace the fan housing and secure it using the original screws.
Reattach the Inverter Cover: Carefully replace the inverter cover and secure it with the screws you removed earlier.
Power Up the Inverter: After reassembling the inverter, reconnect it to the power source. Allow it to run for a few minutes to ensure the new fan is functioning properly.
Step 6: Test the Inverter
Monitor the Inverter: Keep an eye on the inverter’s operation. Check for any unusual noises, vibrations, or overheating.
Use a Multimeter (Optional): If you’re comfortable, use a multimeter to test the inverter’s output voltage and current to ensure everything is functioning as expected.
Common Issues and Troubleshooting
Fan Not Spinning: If the new fan isn’t spinning, check the wiring connections and ensure the power supply is correct. Also, verify that the fan’s rotation direction is correct.
Overheating: If the inverter still overheats after replacing the fan, there may be other issues, such as a faulty power supply or malfunctioning transistors.
Noise: If the new fan is louder than expected, it may be due to improper installation or a mismatched fan model.
Replacing the cooling fan in your Deye or SunGrow inverter is a manageable task that can prevent potential damage and extend the life of your device. By following the steps outlined in this guide and adhering to safety precautions, you can confidently perform the replacement. Remember to always use compatible parts and take your time to ensure everything is installed correctly. Regular maintenance and inspections can help keep your inverter running smoothly for years to come.


